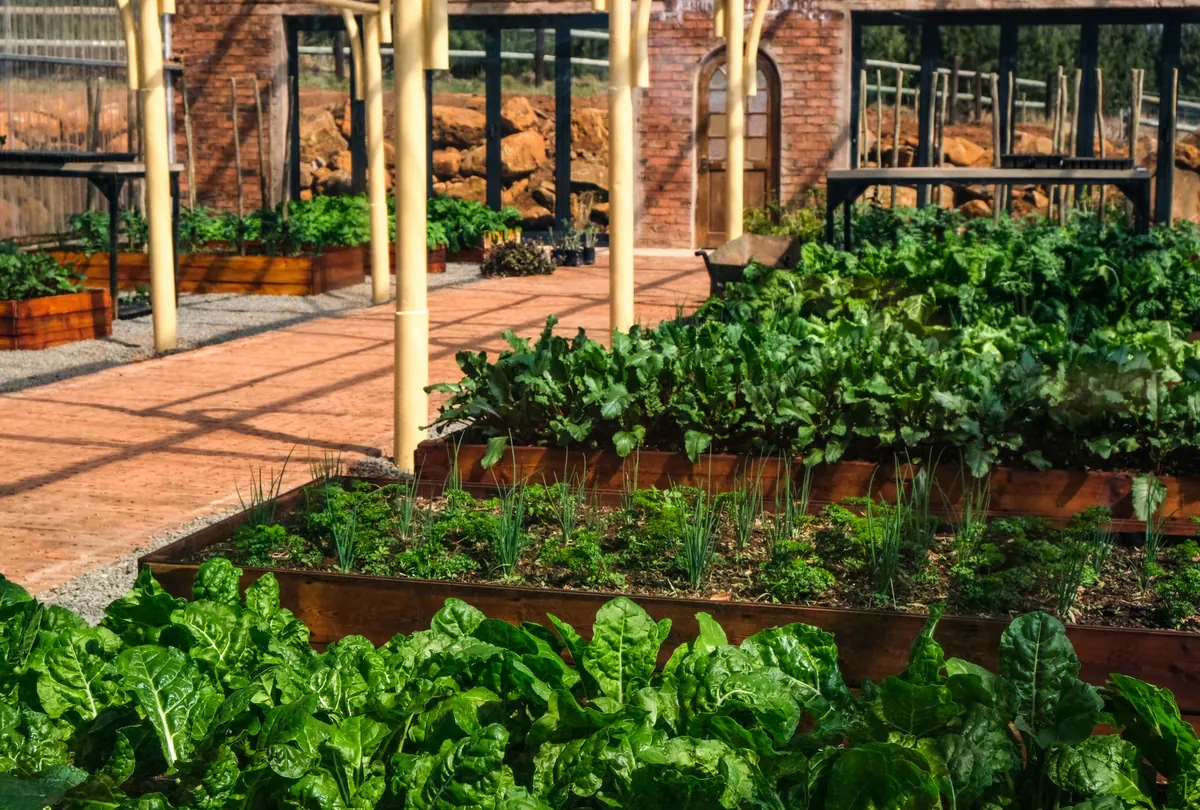


A north-facing garden can feel like the poor relation: cool, dim, and slow to dry out in winter. Spend an afternoon in one, though, and you notice what shade actually gives you. Leaves stay fresh through a heatwave. Mossy joints look pleasingly aged rather than neglected. There is a green quietness to the space that sun-baked plots rarely manage. The trick is to stop fighting for sunlight you will never get and start designing for the light you do have.
This plan assumes a compact plot — a courtyard, a narrow terrace, or a back garden of roughly 30 to 60 square metres. Work through the steps in order and you will end up with something that feels deliberate rather than apologetic.
Start by Reading the Light
Before you move a single paving slab, watch the garden. Check it on a bright day in March, then again in June and late September. Note where direct sun lands, how long it stays, and which walls bounce light back into the space. A north-facing border often gets only a short window of direct sun in midsummer, and none at all from autumn through to spring.
Then look at the quality of the shade, because it changes what will grow:
- Damp shade — usually along a north or east fence, or in heavy clay. Ferns, hostas and moisture lovers settle in happily here.
- Dry shade — under a mature tree, or against a wall with a roof overhang. Tougher, but workable with the right plants and some watering in the first two years.
- Dappled shade — filtered through leaves. The easiest option, and the closest thing to a woodland floor.
Also check the wind. A north-facing plot between two buildings can funnel cold air straight through, which matters more than shade for tender plants.
Get the Bones Right: Levels, Boundaries and Drainage
Shade usually means damp, and damp exposes bad drainage. If water sits on the surface after rain, fix that first — add organic matter and horticultural grit, or raise the planting area altogether. A low raised bed is one of the best investments in a north-facing garden: it lifts soil out of the cold, wet ground, warms up faster in spring, and lets you control the mix.
Boundaries matter too. A dark stained fence eats light, so consider a paler stain, a warm off-white paint, or a trellis with a light wall behind it. Keep the boundary simple. Too many different fence panels, edgings and finishes make a small plot feel cramped.
Hard Landscaping That Brightens a Shady Plot
You cannot add sun, but you can add reflected light and a sense of space.
- Choose pale surfaces. Light grey porcelain, pale sandstone, concrete slabs and gravel all bounce light upwards. Dark slate and black decking swallow it.
- Limit yourself to two materials. One for the main sitting area, one for paths. Repetition reads as calm.
- Keep paths at least 90cm wide. Narrow paths in a shaded garden feel like corridors.
- Curve or angle the route. A path that disappears behind planting makes a small space feel twice as deep.
- Add a mirror or a pale panel on a wall where it catches light — but check for glare and bird strikes before fixing anything permanently.
- Use low, warm lighting at 2700K. Uplighting a fern or a small tree extends the garden well past sunset.
In shade, texture does the work that flower colour does in sun. Plan for leaf shape and surface — glossy, felted, feathered, bold — before you plan for petals.
Plan the Layout: Zones, Views and a Focal Point
Divide the plot into two or three clear zones: a sitting area close to the house, a planted middle, and a quieter end that draws the eye. Put your focal point — a smart pot, a small tree, a simple water bowl — at the far end, ideally on a diagonal from the back door. Diagonals stretch a space; a straight line down the middle shrinks it.
Beds should be at least 60cm deep, and deeper at the back of the plot, so plants can layer naturally from low front to tall rear. Be honest about lawn. In most north-facing gardens it turns to moss and mud. That is fine if you like moss — it is soft, evergreen and needs almost no mowing. If you do not, replace it with gravel, ferns or a seating area.
Planting for Shade: Build in Layers
Think of a woodland edge: a canopy, a shrub layer, perennials, ground cover, bulbs. Repeating that structure makes even a tiny plot look established.
- Structure and evergreens: yew, Sarcococca, Fatsia japonica, clumping Fargesia bamboo, Japanese maple for autumn colour.
- Ferns: Dryopteris erythrosora, Polystichum setiferum, Athyrium niponicum for a soft, unfurling texture.
- Perennials: hellebores, epimedium, Brunnera, Pulmonaria, Tiarella, Geranium macrorrhizum, Japanese anemones.
- Grasses: Hakonechloa macra and Liriope, both happy in shade and useful for edging.
- Bulbs and corms: snowdrops, Cyclamen hederifolium and Erythronium, which flower before the canopy closes overhead.
Plant in generous drifts of three, five or seven rather than one of everything. Repeat two or three key plants through the border to pull it together, and contrast leaf sizes: broad hosta leaves against fine fern fronds, dark sarcococca against pale variegated brunnera.
Soil, Watering and the Quiet Jobs
Improve the soil with leafmould or well-rotted organic matter every autumn. Resist heavy feeding: in shade, rich soil produces soft, floppy growth that leans towards whatever light there is. Water new plants properly for their first two summers, especially in dry shade under trees, where roots take most of the available moisture. Mulch to hold what rain you get, and keep fallen leaves — they are free soil conditioner.
Your First Weekend: A Simple Order of Work
- Track the sun for a few days and mark the sunniest spot for seating.
- Clear the site, then check drainage by watering an area and watching where it pools.
- Set the layout with string or sand lines: path, beds, sitting area.
- Lay hard landscaping before planting, so you are not working around plants.
- Improve soil, plant the structural shrubs and trees first.
- Fill in perennials and bulbs, then mulch and water everything in.
- Live with it for a season before adding lighting, a mirror or a water feature.
A north-facing garden rewards patience more than budget. Get the light, levels and layout right, choose plants that suit the conditions rather than the ones you wish would grow, and the space will feel calm, green and quietly generous — even in February.